Integrating Active Oversight and Egnyte
Overview:
Integrating Active Oversight and Egnyte is going to save your company time and money. We can't wait for you to get started. But before you do you will need to make sure your Egnyte account is set up and ready to go. This article will walk you through all the details that need to be done.
Create a new user
In order for Active Oversight to be able to connect to your Egnyte account, you will need to set up a new user. This new user is going to be what we (Active Oversight) use to do all of our synchronizations.
To do this:
- Log in to your Egnyte account
- Navigate to Settings from the menu and open the Users & Groups tab
- Click the Add New Account button
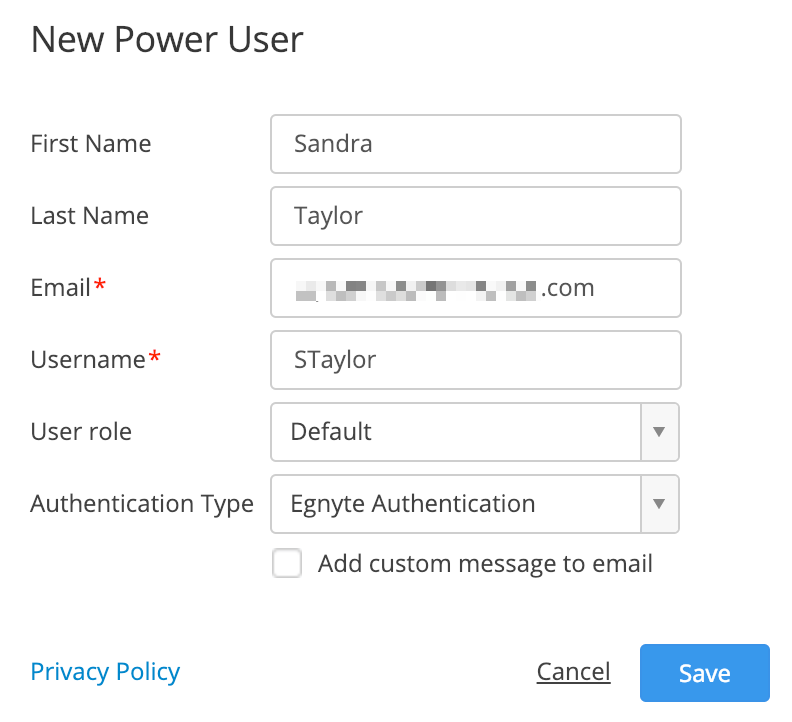
- Select Power User as the type of user you'd like to add.
- Fill in the user information. NOTE: We recommend using an email that may or may not be real, and with your domain. The user name you can make whatever you would like.
- Save user
Update New User to "Service Account"
Once you've created a new user you will need to make this user a "Service Account". A Service Account is an Egnyte account that is meant to be used by an application instead of by a user. See Egnyte's article for more detail about this type of account.
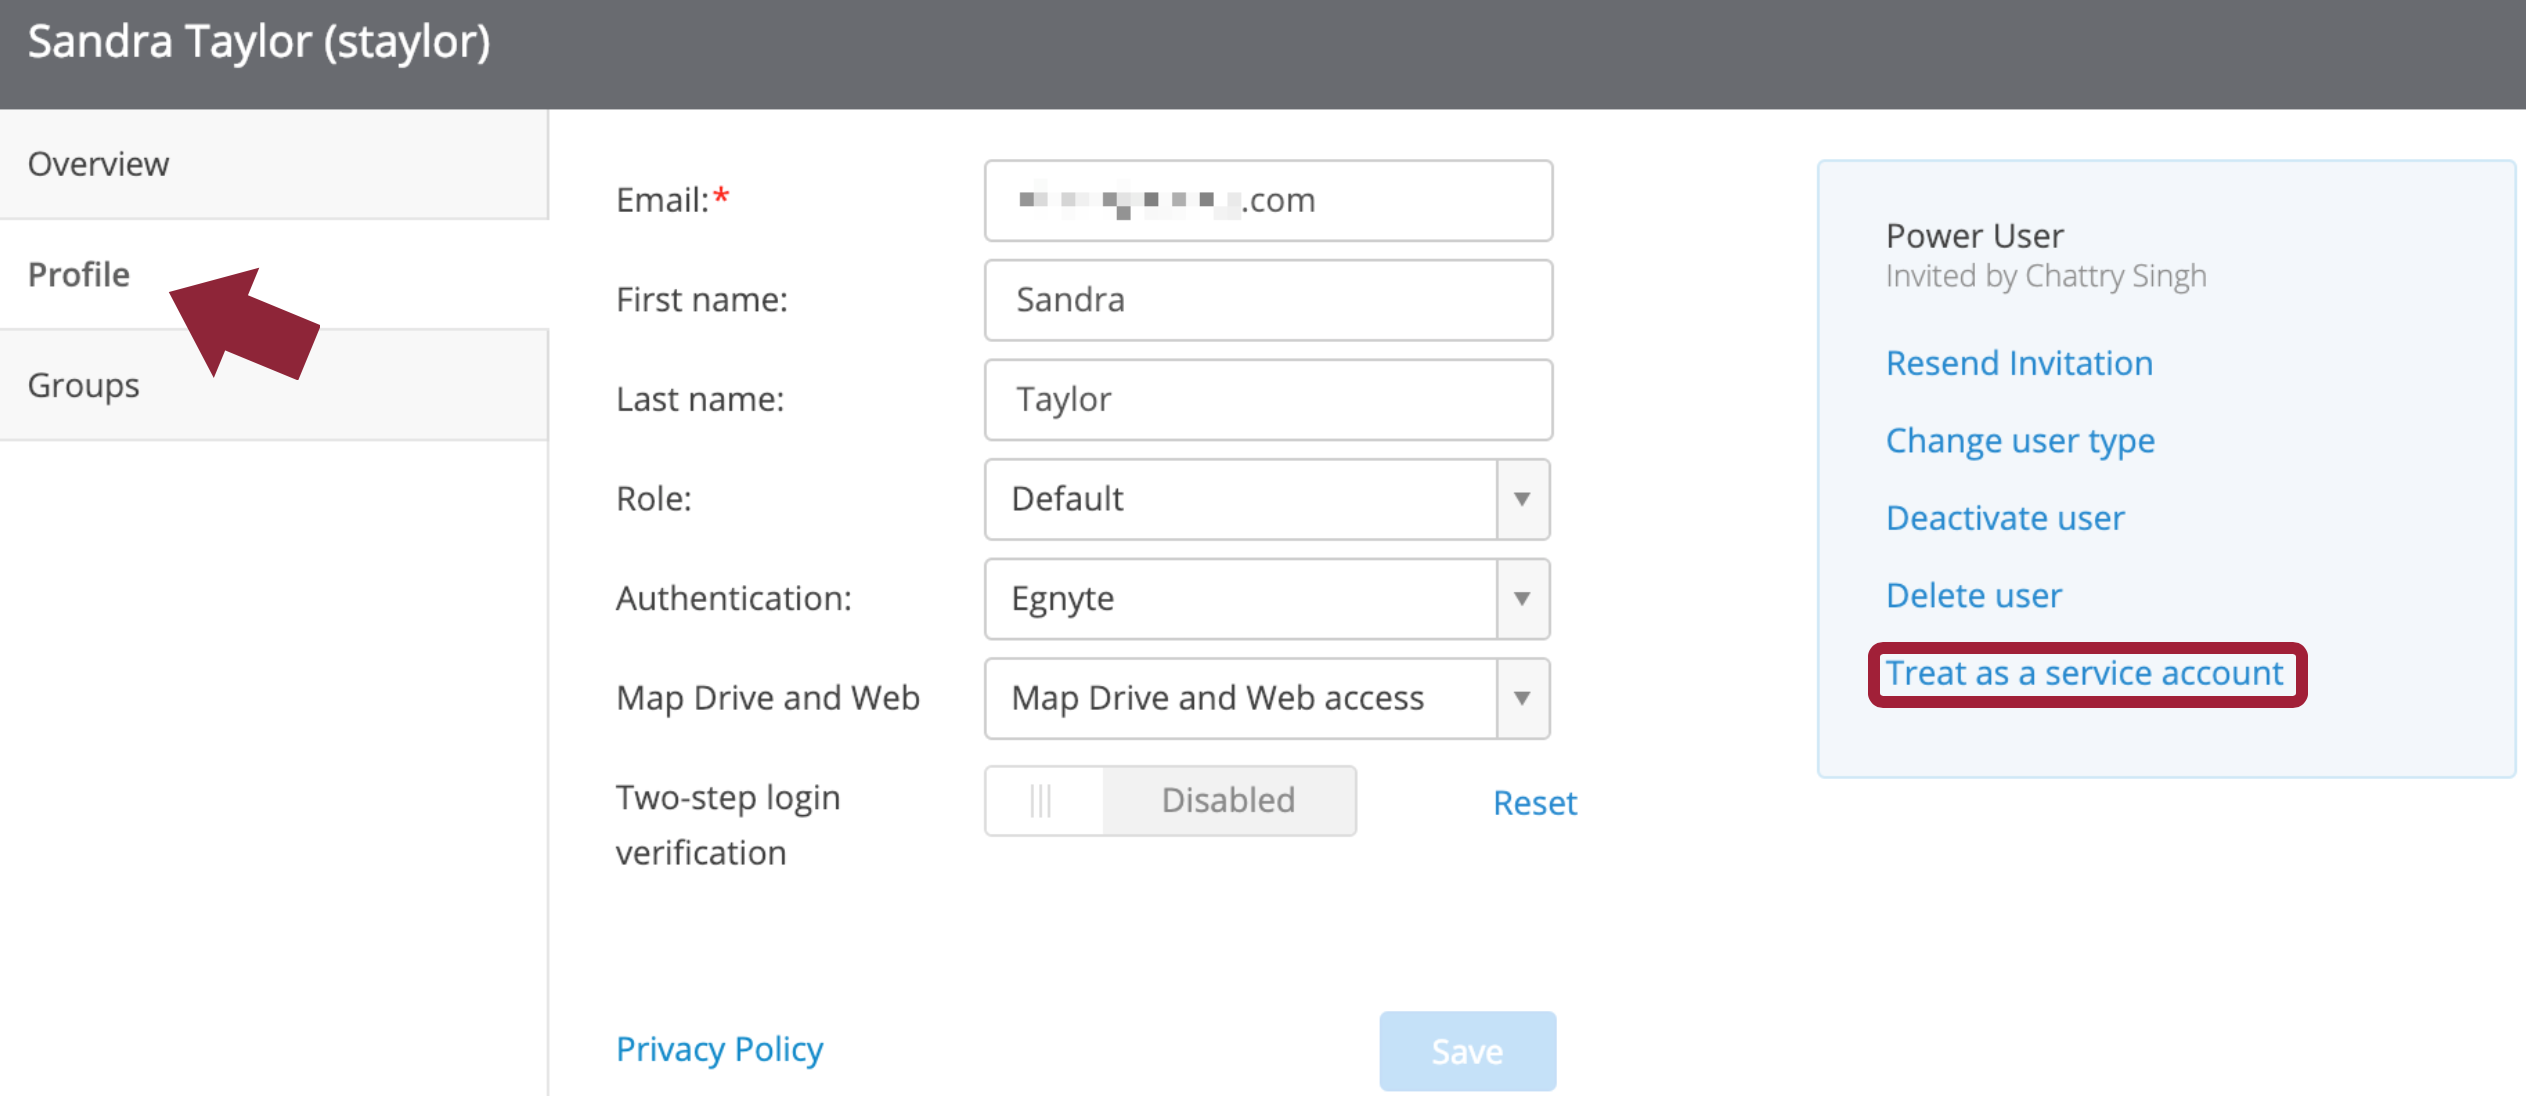
- Locate the user on the Users & Groups page and hover over their account.
- Click Details
- Select the Profile tab from the left and click Treat as a service account.
- Click Confirm on the confirmation page to finalize the change.
Update Service Account Password
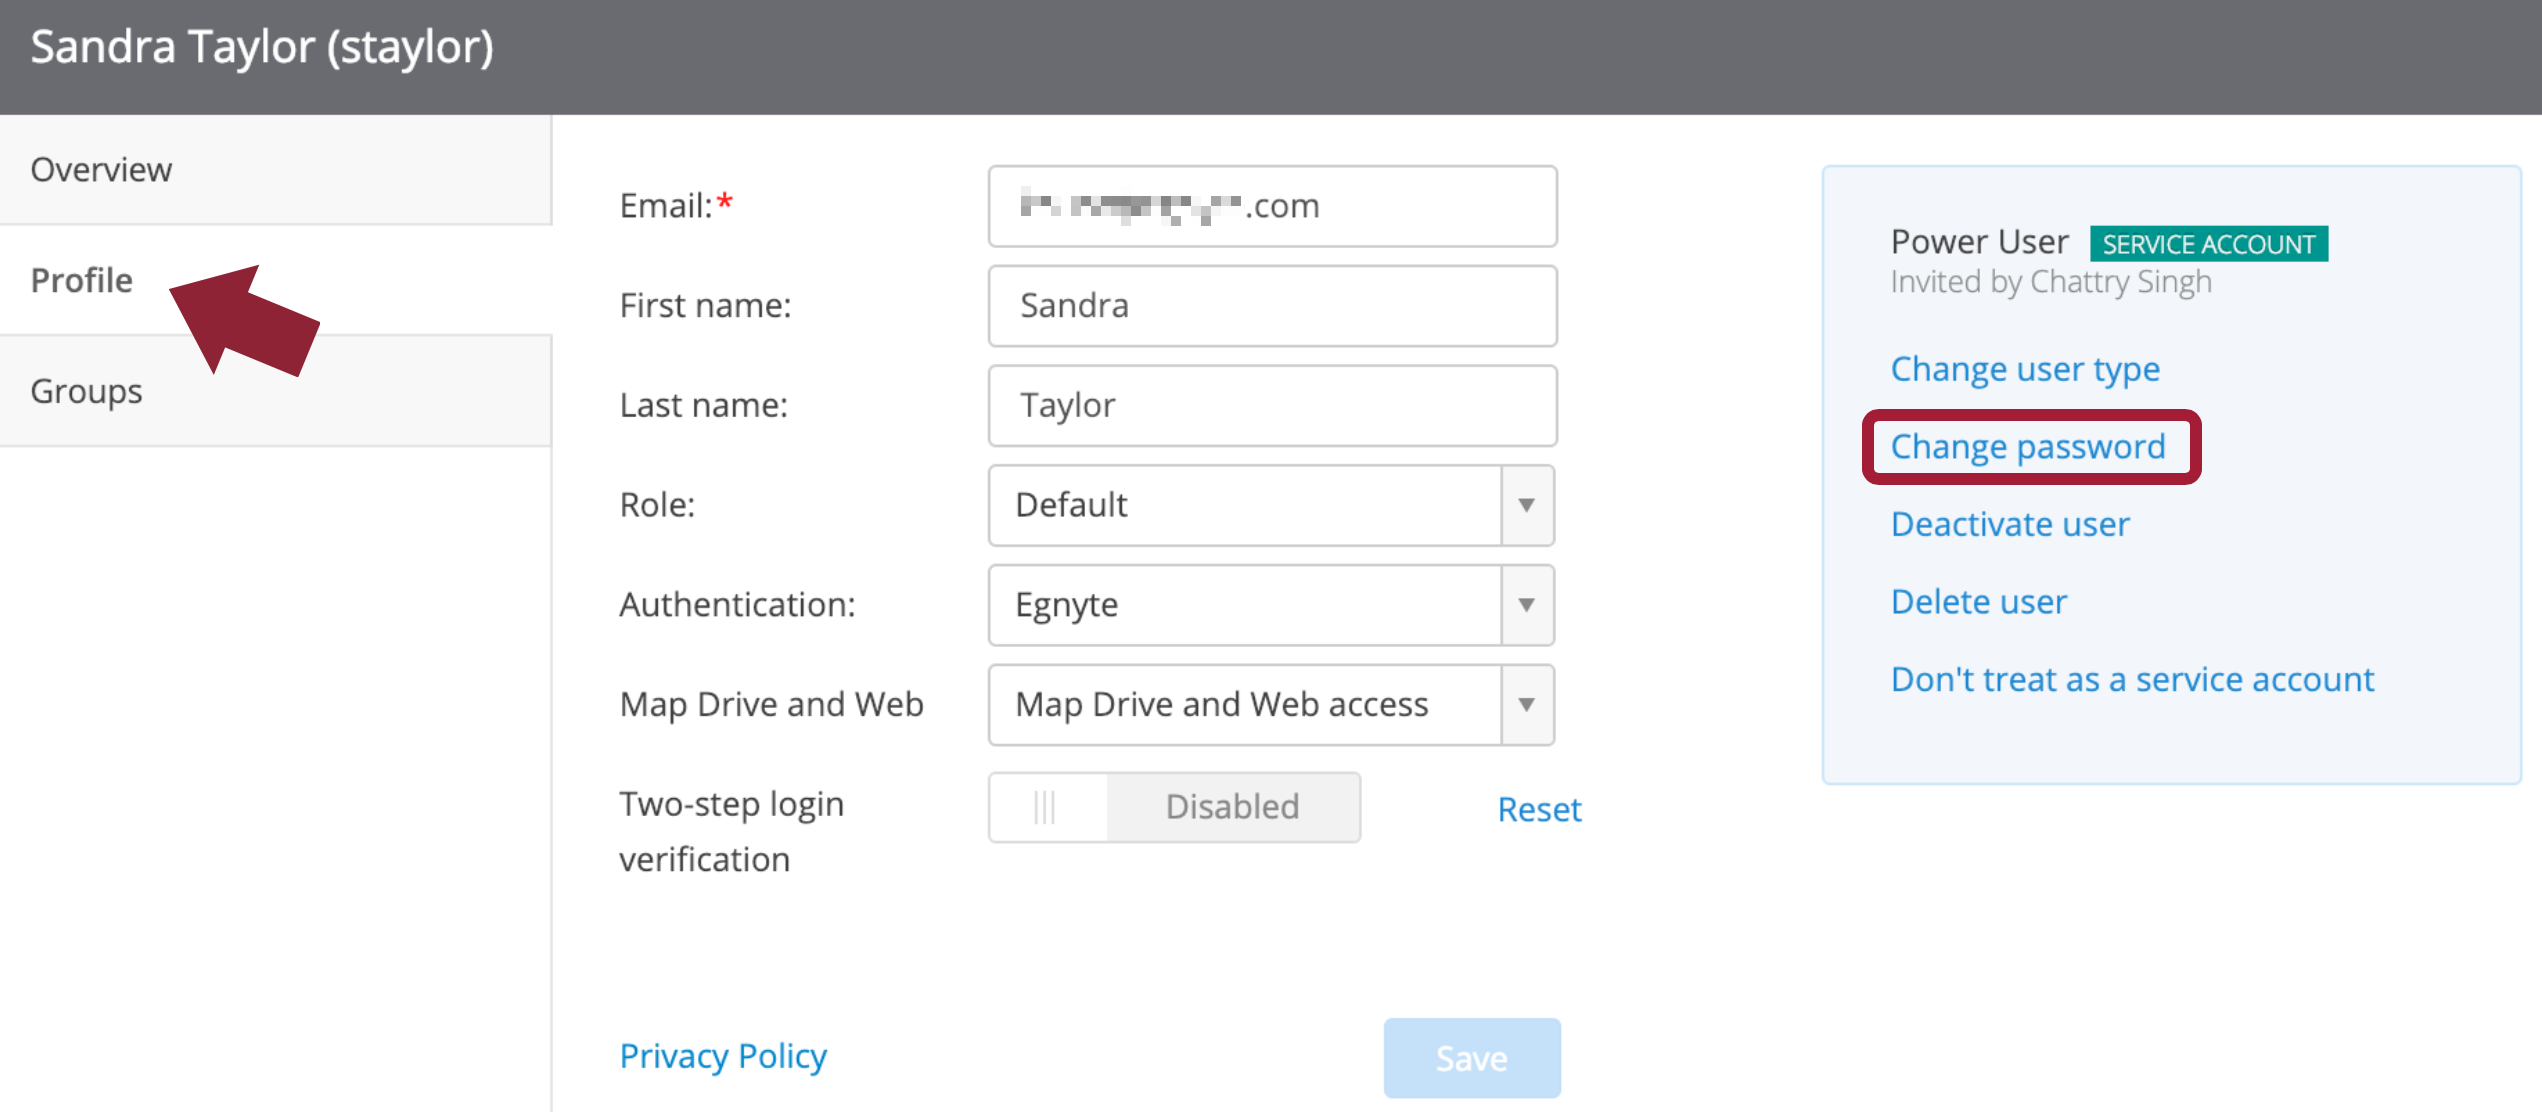
Because service accounts cannot log into the Web UI, they cannot change their own password. If the password needs to be changed, a non-service account Admin will need to manually update it through the Web UI.
- Locate the user on the Users & Groups page and hover over their account.
- Click Details
- Select the Profile tab from the left and click Change Password.
- The pop-up dialog will show you what devices are connected to the service account and warn that you'll need to manually update your password within these devices/services. Click Ok.
- Enter the new password twice and click Ok to finalize the password change. NOTE: the password for service accounts must be at least 12 characters long.
Add a New Folder
You will need to create a new folder so that Active Oversight knows where you want all of your File uploads.
- Navigate to the folder you'd like the new folder to reside under.
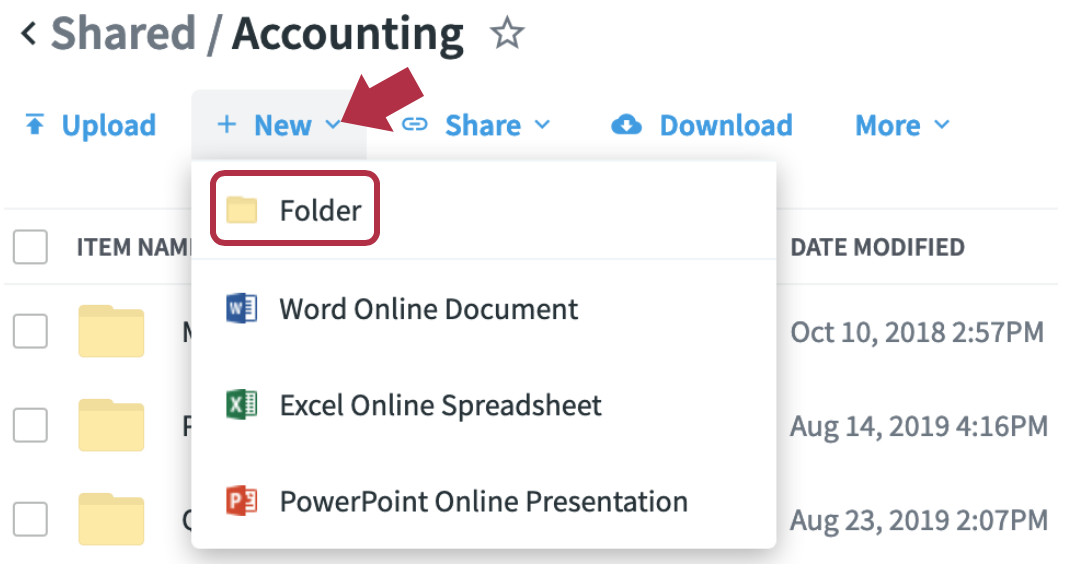
- Click + New and select Folder from the drop-down
- Enter a name for the new folder and click Create.
Share Your Folder
Once you’ve created a new folder, you can share the folder with us! This is important so that the new Service Account user you just created has access to the folder.
Navigate into the folder, select Share from the list of options, and click Manage Folder Permissions.

When you invite a user, you'll need to provide their email address and a user name. The User Name field will auto-populate with a suggested name based on the email address you enter for the new user.
You'll also need to apply the permissions level you'd like the user to have. Note: We recommend that you assign the Service Account user Owner permissions.
Send Us This Information
Now that you've set up the new user and folder, let us take it from here. Send an email to support@activeoversight.io with the user name and password that you created (AKA the Service Account) as well as the Folder information that you shared with that user. Once we receive this information and set it up, we will let you know!
Do you have additional questions? Contact us at Support@activeoversight.io.
Comments
0 comments
Please sign in to leave a comment.